

Trip Planning
How to Plan a Hiking Trip from Start to Finish
The step-by-step process we use for every hike, from a quick Colorado morning trail to a multi-day national park trip with Tira.
Planning a hiking trip well is the difference between a day you will talk about for years and one you are trying to forget. We have learned this the hard way, through wrong-shoes days on slick rock, and a hike where we realized we did not have enough water. This is the process we use now.
Choose the Right Trail for Your Group
The most important planning decision is matching the trail difficulty to the actual fitness and experience level of everyone in your group, not the most experienced person. One person going easy is fine. Everyone suffering because of one person’s ambition is not a hiking trip, it is a survival situation.
Be honest about your fitness level and work up gradually. A 5-mile hike with 1,000 feet of elevation gain feels very different from a 5-mile flat trail, and both feel completely different at 10,000 feet than at sea level.
AllTrails
The best starting point for trail discovery. Filter by distance, elevation, difficulty, and dog-friendliness. Always sort reviews by newest first for current conditions.
alltrails.com →Recreation.gov
The official federal reservation system for campgrounds, day-use permits, and timed entry reservations at national parks and forests.
recreation.gov →NPS.gov
Always check the official National Park Service website for your destination. Closures, permit changes, and regulations live here first.
nps.gov →Gaia GPS
Offline maps for when you lose cell service. We download the maps for our entire hiking area before leaving home. Pairs beautifully with a GPS watch.
gaiagps.com →Trail Selection Checklist
- Confirm distance and elevation gain match your current fitness
- Read the 10 most recent AllTrails reviews (sorted newest)
- Check if dogs are allowed and whether leash rules apply
- Identify the trailhead GPS coordinates (not just the park name)
- Check cell service availability and download offline maps
- Identify a bailout route or shorter alternate trail
Understand Permits, Fees, and Reservations
Permit requirements have expanded significantly across popular hiking destinations. Trails that were first-come-first-served two years ago now require advance reservations. If you do not check ahead, you may drive hours and be turned away at the entrance.
The America the Beautiful Annual Pass is one of the best investments for anyone who hikes national parks or public lands regularly. At $80 a year it pays for itself within two or three park visits.
The America the Beautiful Pass
Covers entrance fees at all national parks, national monuments, national forests, BLM land, and most other federal recreation sites. Available at any national park entrance station or online at store.usgs.gov. Worth every dollar if you visit more than two national parks per year.
Common trails and areas requiring advance reservations:
Permit Hotspots to Know
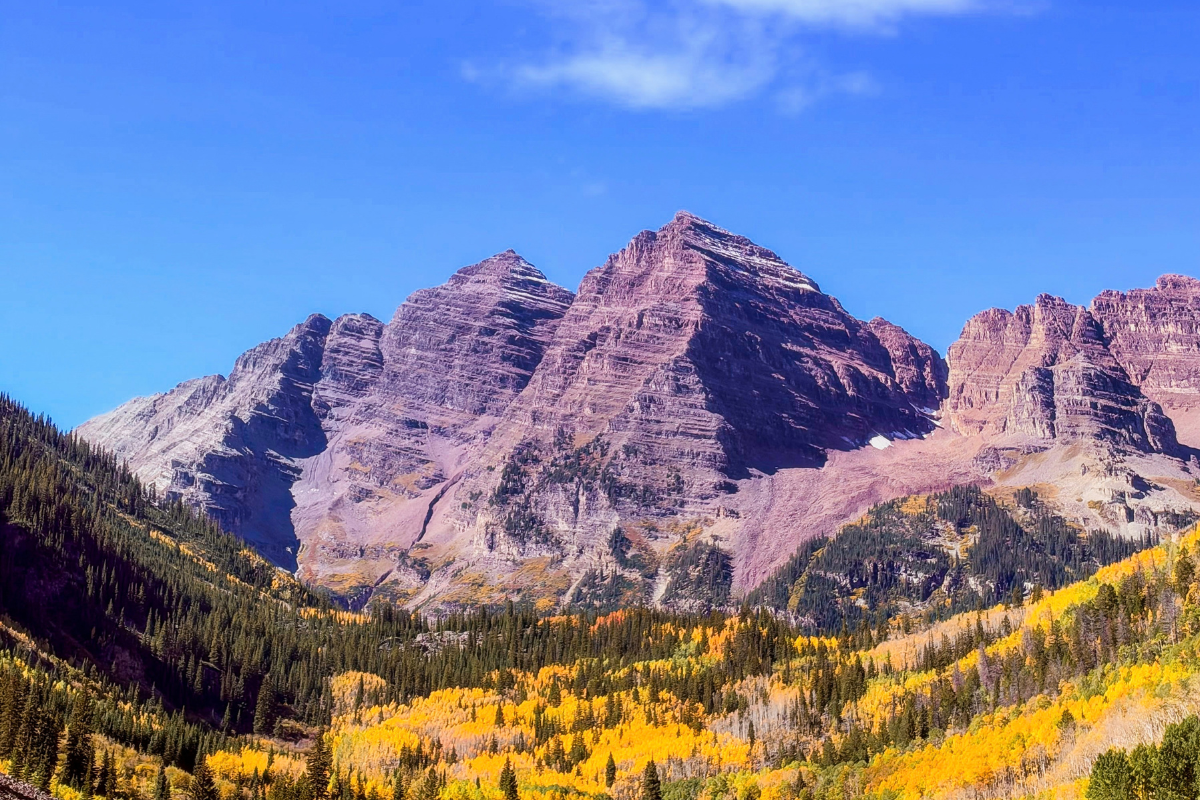
- Maroon Bells, Colorado: shuttle reservation required on peak days
- Zion Narrows and Angels Landing: permit required for Angel’s Landing
- Mount Blue Sky (Mount Evans Scenic Byway): timed-entry reservation at recreation.gov
- Havasupai Falls, Arizona: lottery permit months in advance
- Hanging Lake, Colorado: timed-entry permit required
- Grand Canyon Bright Angel Campsites: permit through NPS
Book early. Popular reservations at recreation.gov open 6 months in advance to the day and sell out in minutes for summer weekends. Set a calendar alert for 6 months before your target date and have your account ready to go at exactly midnight.
Your Hiking Trip Planning Timeline
How early you need to plan depends entirely on whether permits are required. For a casual trail with no reservations, you can plan a week out. For iconic destinations, you might need to plan six months ahead.
6 Months Out
Secure Any Permits or Reservations
Recreation.gov reservations for high-demand sites open at this window. Set calendar alerts and be ready to book the moment they go live. This is also when many campsite lotteries run.
2 to 4 Weeks Out
Book Lodging and Confirm Transportation
If the hike requires overnight travel, book accommodations now. Confirm whether trailhead parking requires a reservation. Plan your driving route including any fuel stops in remote areas.
1 Week Out
Audit Your Gear and Start Physical Prep
Check that all your gear is in working order. Break in any new footwear. Do a shorter practice hike if this is a step up in difficulty from what you have done recently.
2 to 3 Days Out
Monitor Weather and Download Maps
Check the forecast for your exact trailhead (mountain weather is hyperlocal). Download offline maps via Gaia GPS or AllTrails. Identify any current trail closures or advisories.
Night Before
Pack, Prep Food, and Share Your Itinerary
Pack your bag completely, prep and pack all food and snacks, fill water bottles, and charge all devices. Share your trail plan with a trusted person, including the trailhead location and your expected return time.
Morning Of
Check Weather One Final Time and Start Early
Final weather check. Eat a real breakfast before you leave. Arrive at the trailhead earlier than you think you need to.
Packing for Your Hike
Packing comes down to two principles: carry what you need, leave what you do not. Every extra pound of unnecessary gear is weight your knees feel on the descent. But never compromise on safety, water, food, and emergency items in the name of going light.
Full-Day Hike Pack Checklist
- Daypack sized for your load (20 to 30L for most day hikes)
- Water: at least 2L per person, plus a water filter for backcountry
- Food: more than you think you will need
- Trail-appropriate footwear and wool or synthetic socks
- Sunscreen SPF 50 or higher and SPF lip balm
- Headlamp with charged batteries or fresh batteries
- First aid kit
- Emergency space blanket
- Extra insulating layer (even in summer)
- Rain layer or poncho if any chance of precipitation
- Navigation: offline maps downloaded, paper map as backup
- Trekking poles (especially for significant elevation gain)
- Bug spray if hiking in forested or low-elevation areas
- Trowel and biodegradable soap for backcountry bathroom use
- Pack out bags for all waste including food scraps
Our Hiking Essentials Guide
We have put together a complete hiking essentials guide covering gear we use and recommend, with options at every price point. See the full Hiking Essentials page →
Planning a Hike with Your Dog
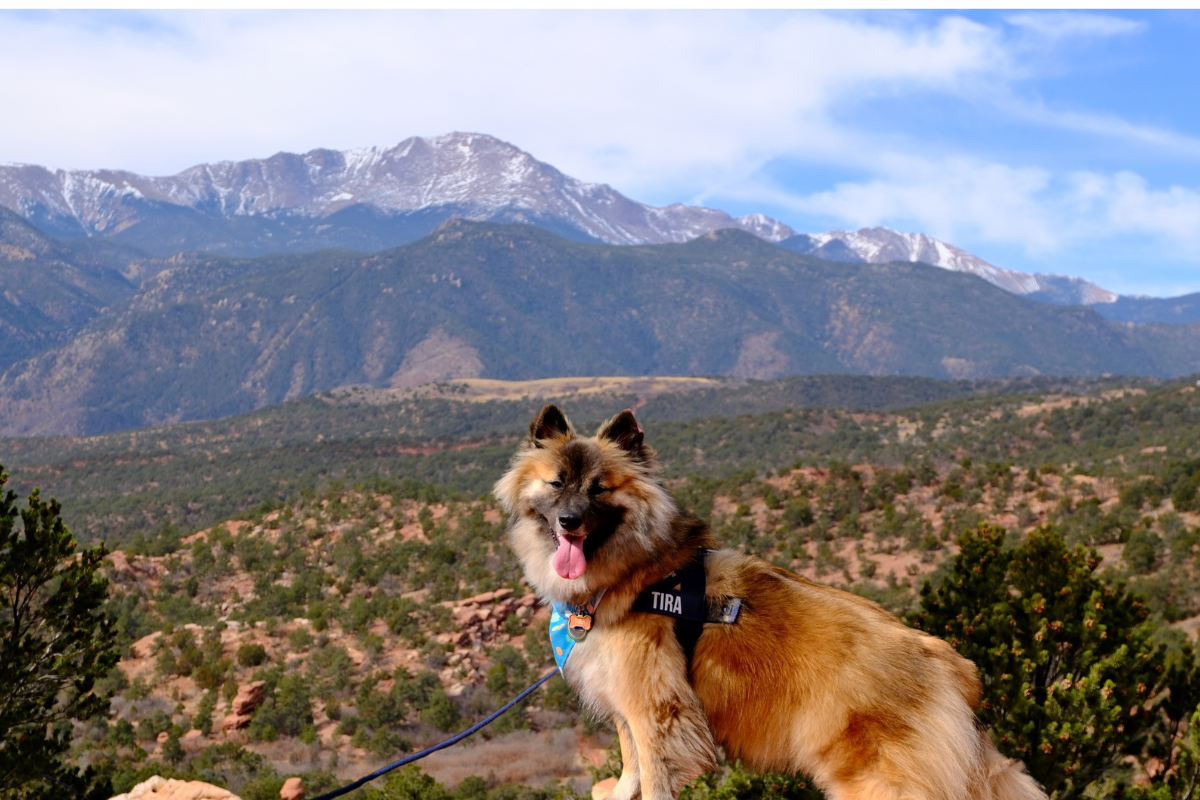
Hiking with your dog is one of the most rewarding things you can do together. It is also one that requires more planning than hiking without them. Tira has been on trails from Monument Valley to the Colorado wildflower fields, and here is what we have learned along the way.
Planning with Tira: Our Dog-Specific Process
Before any hike with Tira, we run through this checklist in addition to our regular planning:
- Verify the trail allows dogs and whether leash requirements apply
- Check trail surface conditions: hot rock and pavement can burn paws fast
- Plan water stops every 30 to 45 minutes and pack extra for your dog
- Bring a dog-specific first aid kit with tweezers for thorns and paw treatment
- Apply paw protection wax before any trail with exposed rock or pavement
- Know the signs of overheating in your specific breed
- Have a bail-out plan if your dog shows signs of fatigue earlier than expected
Dog Trail Day Checklist
- Trail is confirmed dog-friendly with leash rules noted
- Collar with current ID tags and up-to-date microchip info
- Collapsible water bowl and extra water for your dog
- Dog-specific first aid kit
- Tick prevention applied (check with your vet for best product)
- Paw wax applied before the hike on exposed terrain
- Waste bags (pack extra, pack everything out)
- Your vet’s emergency contact and nearest emergency vet location
- Dog’s vaccination records if crossing state lines
Day-Of: The Final Walkthrough
Do this the morning of every hike. It takes five minutes and has saved us more than once from arriving at a trailhead missing something critical.
Day-Of Final Checklist
- Check weather one final time for your specific trailhead
- Eat a real breakfast before you leave
- Fill all water bottles or hydration reservoirs
- Confirm your park pass or day-use fee payment
- Confirm trailhead GPS is saved to your phone (not just the park name)
- Text or call your safety contact with your plan and return ETA
- Apply sunscreen before you leave the car
- If hiking with dog: apply paw wax, fill dog water, pack waste bags
- Sign in at any trailhead registry if available
Start Earlier Than You Think You Need To
We cannot stress this enough, especially in Colorado. Mountain afternoon thunderstorms are real, unpredictable, and dangerous. Aim to be descending from any exposed terrain by noon in summer months. The early morning light is also significantly better for photos.


Leave a Reply